8 Steps to Creating the Perfect Custom Logo Mat (Step-by-Step Guide)
Welcoming customers and promoting your brand starts at your doorway. This guide walks you through every step to create a branding logo mat that looks great and performs—whether you’re branding a single location or rolling it out across multiple sites.
Step 1: Placement Location — Indoor/Outdoor Covered vs. Outdoor Uncovered
Goal: Ensure that the logo mat design will work for all locations and maintain a consistent, effective branding system.
- Outdoor Uncovered rated mats are your first line of defense to stop tracking in water and dirt. They can withstand weather, are UV-resistant, and have heavy scraping abilities.
- Indoor/Outdoor Covered rated mats emphasize moisture absorption and fine soil capture. They should not be placed in direct sunlight or extreme weather.
- If you need both: Select products rated for both environments so the color palette flows throughout the building.
Measure clearance: Most mats are 1/4–3/8 in. thick; ensure doors swing freely.
Step 2: Lock in Brand Colors & Contrast
Goal: Ensure the mat’s color palette matches your brand.
- Provide PMS codes and brand usage notes.
- Maximize contrast between logo and background for readability.
- For dark floors/walls, consider a lighter mat field (or vice versa).
Pro tip: Most printed mats have a large color palette to closely match PMS colors without extra fees.
Step 3: Gather the Right Artwork
Goal: Provide the best art file for the highest quality logo mat production.
- Best formats: .AI, .EPS, vector .PDF (fonts outlined).
- If raster: PNG/JPG at 300+ DPI at final print size.
- Include Pantone (PMS) color codes.
- Remove tiny outlines, textures, or busy backgrounds that may not translate on textiles.
- No file? Ultimate Mats can help create your design—call or email with details.
Pro tip: Provide both a full-detail version and simplified version for small mats or high-contrast needs.
Step 4: Inlay or Printed
Goal: Select the best mat style for durability and logo quality.
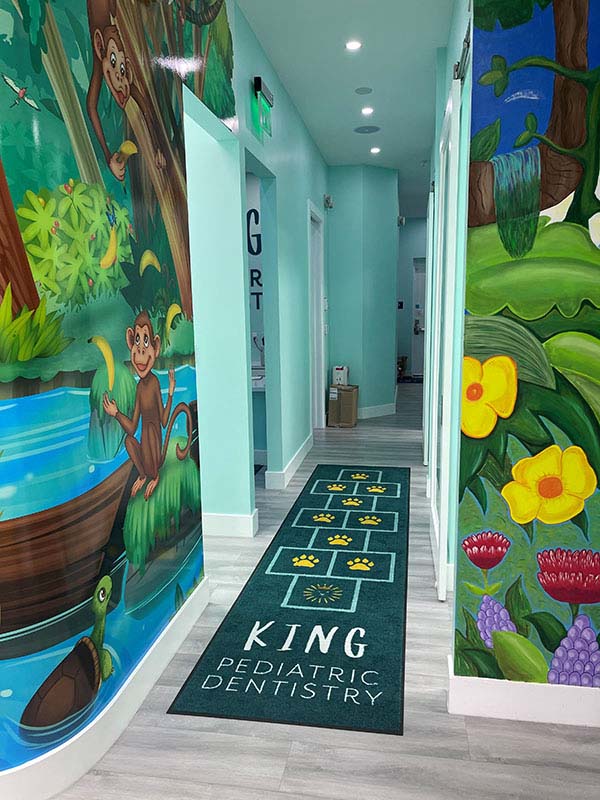
- HD Digital Print: Photo-quality detail, gradients, PMS matching. Not UV-resistant.
- Standard Digital Print: Handles detailed designs without gradients. Not UV-resistant.
- Inlaid: Ultra durable, solid-color shapes, UV-resistant.
Traffic rule of thumb: Heavy traffic requires heavier carpet (30 oz/yd² or more).
Step 5: Select Size (and Mind Tolerances)
Goal: Choose a mat style available in your required width and length.
- Most mats come in widths from 3ft to 6 ft and lengths from 20–60 ft.
- Some logo mats are available in up to 10 ft and 13 ft widths up to 60 ft long.
- Custom shapes are available for select styles.
Pro tip: Many styles have a size variance of ±3–5%. Select a mat without variance if exact size is critical.
Step 6: Digital Proof
- Ultimate Mats always provides digital proofs for layout, colors, and safe areas.
- For mission-critical color needs, request a sample.
Pro tip: Screen colors are not accurate—always compare real color charts.
Step 7: Approve & Produce
- Sign and return proof to Ultimate Mats.
- Typical lead time: 7–15 business days after art approval, plus transit.
Pro tip: Double-check spelling—letters may shift or drop during artwork setup.
Step 8: Install, Clean, and Rotate
- Clean the floor before placing mats.
- Install: Smooth backing for carpet, cleated backing for hard floors.
- Vacuum regularly; hose off when heavily soiled.
- Rotate mats periodically to even out wear.
- Enjoy your new branding logo mats and cleaner building.
Pro tip: Regular cleaning keeps your mat looking its best.
